Water & Rivers · Community & Lifestyle
Volunteer stream monitoring: a beginner's guide to your first season
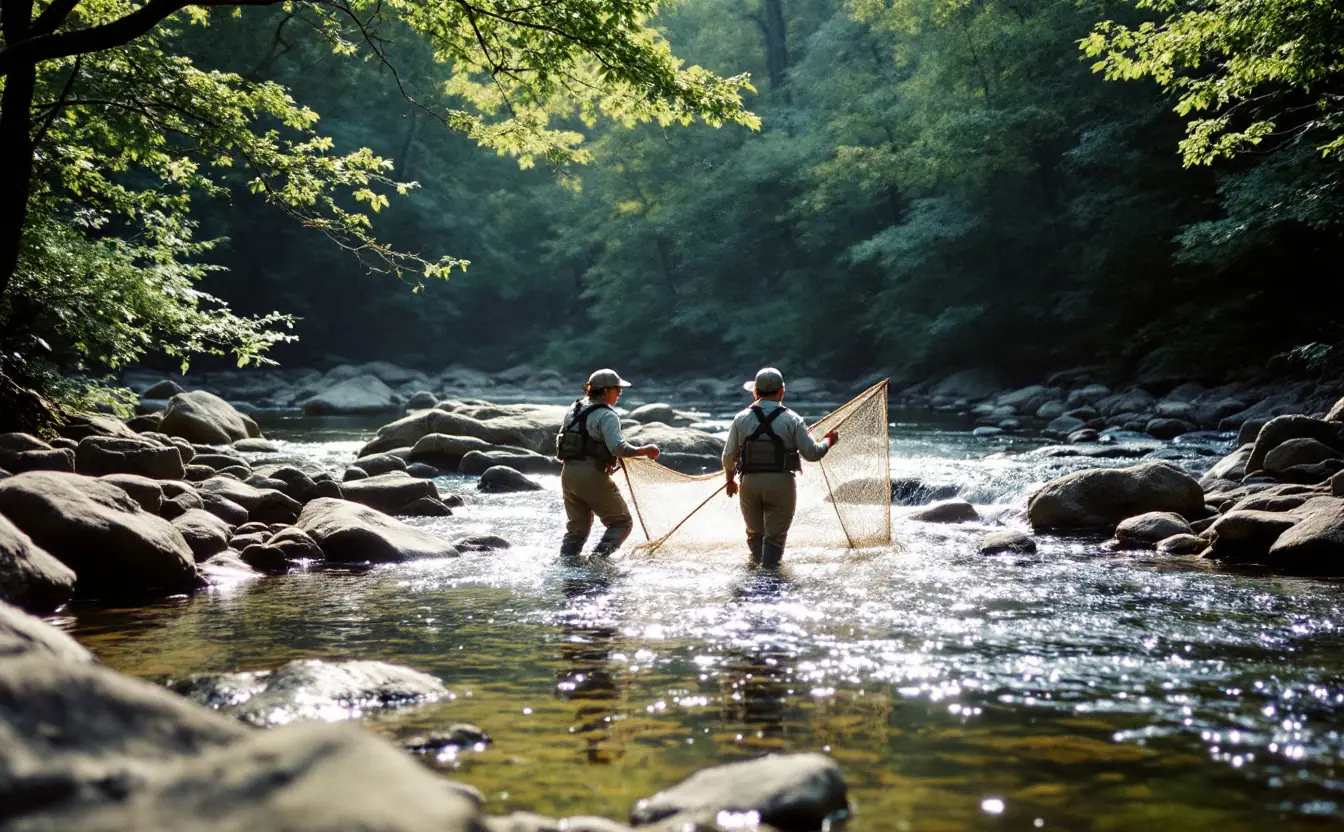
The first time you lift a kick net out of a riffle, it looks like you've caught nothing but leaves and grit. Then you tip it into a white tray of water, wait thirty seconds, and the debris starts to move. A mayfly nymph rows across the tray with its gills fluttering. A stonefly crawls out from under a leaf on six splayed legs, and a caddisfly larva drags its little house of sand grains along the bottom.
I've watched that moment land on a lot of newcomers' faces, and it never gets old. Volunteer stream monitoring is how many creeks get watched at all. Professional programs can't visit every tributary every season, so watershed groups, angling clubs, school classes, extension programs and state-supported volunteer networks fill in the gaps. You don't need a science degree to join them. You need training, a steady routine, and a willingness to get your sleeves wet in March.
What volunteers actually measure
Programs differ in what they ask of volunteers, and few do everything. Most do some combination of these:
Water chemistry. Temperature, dissolved oxygen, pH and conductivity are the usual core, measured with meters or test kits. Some programs add nitrate, phosphate or chloride. If those terms are fuzzy, our guide to reading a stream water quality report explains each one.
Aquatic insects and other invertebrates. This is the heart of many programs. The animals under the rocks reflect months of conditions rather than a single moment, so they catch problems a bottle can miss.
Bacteria. Some groups collect samples for E. coli, either for a lab or using incubated test plates. These programs tend to focus on swimming holes, wading spots and places where kids play.
Habitat and observation. Volunteers record bank erosion, trash, algae, odor, flow and the condition of the streamside trees. Photos taken from the same spot on each visit become a surprisingly powerful record.
Continuous loggers. In some places volunteers deploy and retrieve small temperature loggers that record at regular intervals all summer. In coldwater streams from Vermont to the Oregon Coast Range, those records show exactly when water gets too warm for trout and salmon.
Finding a program
Start local. Search for a watershed association named after your river or creek, ask at your county extension office, or look for a state volunteer monitoring network; many states run or support one. Angling and paddling clubs often have a monitoring committee, and colleges with environmental science departments sometimes hold community sampling days.
Ask two questions before you sign up. First, is there training? Good programs teach a standard method, because data collected inconsistently is hard for anyone to use. Second, where does the data go? Some programs follow a written quality-assurance plan so their results can be used by agencies and researchers, while others are mainly educational. Both are worthwhile, but it helps to know which one you're joining. Training often runs from a few hours to a full day, usually with time in the water, and many programs pair new volunteers with experienced ones for their first few visits.
How often, and when
Most programs ask for visits on a regular schedule, often monthly for chemistry and once or twice a year for invertebrates. Many sample bugs in spring and fall, when a lot of insect larvae are big enough to identify and haven't yet emerged as winged adults. A midsummer sample can look oddly thin simply because the stoneflies already hatched and flew off.
Consistency beats intensity. Visiting the same spot at roughly the same time of day, under similar flow, makes this month's numbers comparable with last year's. If you have to miss a visit, skip it rather than sampling the day after a downpour, and write a note explaining the gap so whoever reads the record later knows why.
Your first sampling day, step by step
Every program has its own protocol, and you should follow yours over anything written here. Still, a typical visit to a wadeable stream goes something like this.
Check the water before you leave. Look at rainfall over the past few days and, if there's a gauge nearby, current flow. Our page on maps and data tools lists where to find both. Skip the visit if the stream is high, fast or muddy; sampling during a flood tells you about the flood, and it's dangerous.
Go with a partner and tell someone your plan. Streamside work happens on slick rocks, often far from cell service. Know where you're parking, and be sure you have permission to be there, since many sites sit on private land reached through landowner agreements.
Pack the kit. A typical list includes a kick net, white sorting trays or a basin, ice cube trays for separating animals, forceps or a soft brush, a hand lens, a thermometer and meters or test kits, sample bottles, data sheets and pencils (ink runs when wet), an identification key, gloves, a first-aid kit, a towel, and a stiff brush for cleaning gear.
Look before you step in. Record the weather, the water's color and clarity, any smell, and anything that seems off. Take your photos from the usual spot so this visit lines up with the last one.
Do the chemistry first. Measure temperature and collect water samples from flowing water before anyone wades through and stirs up the bottom. Face upstream, point the bottle mouth into the current, and keep your hands downstream of it.
Collect the invertebrates. In a riffle, the shallow, fast, bubbly section, one person holds the net firmly on the streambed with its mouth facing upstream. The other disturbs the bottom just upstream for the time and area your protocol sets, picking up and rubbing larger stones so clinging animals wash into the net. Some programs combine several kicks into one sample.
Sort and identify. Empty the net into a tray with some stream water and give it a minute to settle. Move animals into the compartments of an ice cube tray by type. Most volunteer programs identify to order or family rather than species, then tally groups as sensitive, somewhat tolerant or tolerant of pollution.
Return everything and clean up. Put the animals back in the stream. Before you leave, scrub mud and plant bits off nets, boots and waders, drain any water, and let everything dry before visiting a different stream. Invasive hitchhikers like didymo (a nuisance alga sometimes called rock snot), New Zealand mudsnails and zebra mussel larvae travel on damp gear, and some states restrict felt-soled boots for exactly this reason.
Enter your data the same day. Memory fades fast, and wet data sheets fade faster. If something looked unusual, write down what and where while it's fresh.
A short field guide to the tray
You'll learn the regulars quickly, usually within a visit or two. These are the ones that turn up in most riffles.
Mayfly nymphs usually have three tails and feathery or platelike gills along the sides of the abdomen. Many are sensitive to pollution, so a tray full of them is a good sign.
Stonefly nymphs have two tails, two claws on each foot, and no gills along the abdomen. They tend to need cold, well-oxygenated water, which makes them welcome company.
Caddisfly larvae often build portable cases of sand, pebbles or plant bits held together with silk. Others spin small nets between stones to catch drifting food.
Hellgrammites, the larvae of dobsonflies, look like small armored centipedes with pincers at the front. Handle them with respect.
Riffle beetles are tiny, dark and slow. Unusually for beetles, both adults and larvae live underwater, clinging to rocks in fast current.
Midges, aquatic worms and leeches tolerate a wide range of conditions. Finding them isn't bad news, but finding only them is worth a second look.
One of my favorite tricks is for snails. Hold the shell with the point up and the opening facing you. If the opening is on the left, you probably have a pouch snail, which breathes air and tolerates poor water. Gilled snails, which carry a little trapdoor over the opening, generally need cleaner water.
Staying safe
Never wade water that's fast or deeper than your knees; moving water is far more powerful than it looks. Wear footwear with good grip, step slowly, and use a wading staff on loose cobbles. Wear gloves if your site is below a wastewater plant, a pasture or a storm drain, and wash your hands before eating.
In much of the country, check yourself for ticks afterward. If you sample in coal country, learn what an acid mine drainage seep looks like so you can note it on your sheet instead of wading through it. Early-spring and late-fall sampling in the Great Lakes states or the Rockies means planning for cold water, with a spare set of dry clothes in the car.
What your data becomes
A single visit is a snapshot. Ten years of visits to the same riffle is a record, one that can show a creek getting warmer, mud from a new subdivision, a sewer line failing, or a restoration project working. In many places, volunteer observations have been the first sign that something changed, prompting a closer look by professionals.
It changes the volunteers too. After a season or two you start reading streams from every bridge you cross: the color of the water after rain, the algae that wasn't there last August, the riffle that's been buried in sand. Then you climb down the bank, turn over a rock, and start counting mayflies.
Hollow & Headwater is an independent publication. Nothing here is official guidance – for permits, rules or emergencies, go to the relevant public authority.